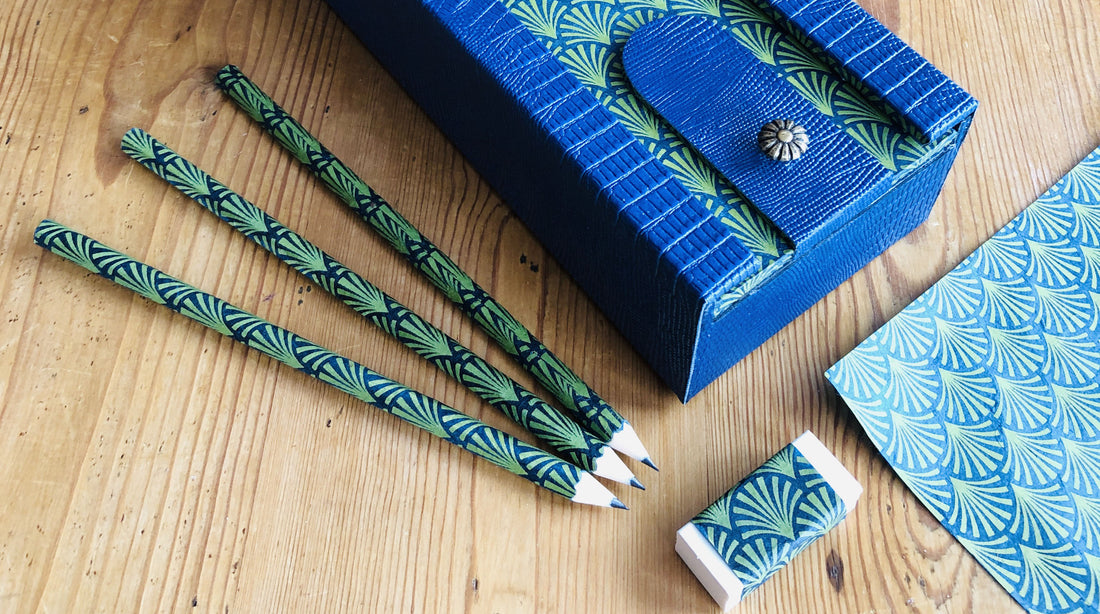
Customize your paper pencils
Share
How to transform simple paper pencils into charming pencils to match our office accessories?
I find it impossible to resist the lure of harmoniously matched stationery on my desk. So, when I start creating a cardboard pencil case, like Colette's Pencil Case , I inevitably end up with leftover fancy paper. These scraps then become the perfect excuse to orchestrate a delicious symphony of colors among my pencils, notebooks, erasers, and other accessories.
In addition to being pretty, it's VERY simple:
1 . gather the fancy paper (maximum, 120g/m2), wooden pencils (not plastic!), white glue, a glue brush, a ruler, a ribbon (kraft or other).
For pencils, I prefer unsharpened wooden pencils. This makes it easier to glue the fancy paper, and improves the pencil size.

![]()
2 . Not all pencils have the same length L, nor the same diameter D. Measure the length L, using a ruler. Measure the diameter D by simply surrounding the pencil with a ribbon. The end of the ribbon should overlap the beginning of the ribbon. Fold the ribbon where needed. Unfold and place the tape on a ruler to obtain D.


3 . Cut a rectangle measuring D x L from the fancy paper.

4 . Glue on the back, the edge of one of the long sides. Put down the pencil. Wait for the gluing to finish. Gradually glue the rest of the paper. Gradually roll up the pencil and apply the paper well, so that it becomes one with the pencil. Continue until the fancy paper is completely installed.


5 . If necessary, varnish the pencils. Let dry.
6 . Pleasure of the eyes

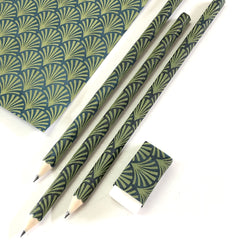
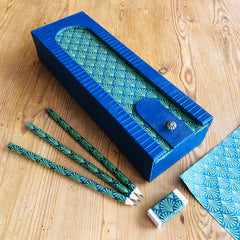
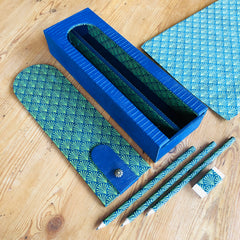
![]()
